Two-factor authentication or 2FA ensures that your Google account gets accessed only when suitable evidence of access right gets confirmed. With 2FA, apart from the account password, users need to provide other means of verification to access the account. With Google, this other means of verification comes in different forms explained below.
How to Enable 2FA Using Google Prompts
You may use Google prompts if your Android phone is signed into a Google account or an iPhone with Google apps. Google prompts are push notifications sent to your mobile asking you to confirm sign-in on another device. So that you’re the only person accessing the account. Here’s how to enable 2FA using Google prompts: Step 1: Visit the Google Accounts site in a web browser. Sign in with your Google account details. Visit Google Accounts Step 2: By the left of the Google Account window, click on Security.
Step 3: Scroll down the window to ‘Signing in to Google’ and click on ‘Use your phone to sign in.’
Step 4: On the new window, click on Next.
Step 5: Provide your account password to verify your identity.
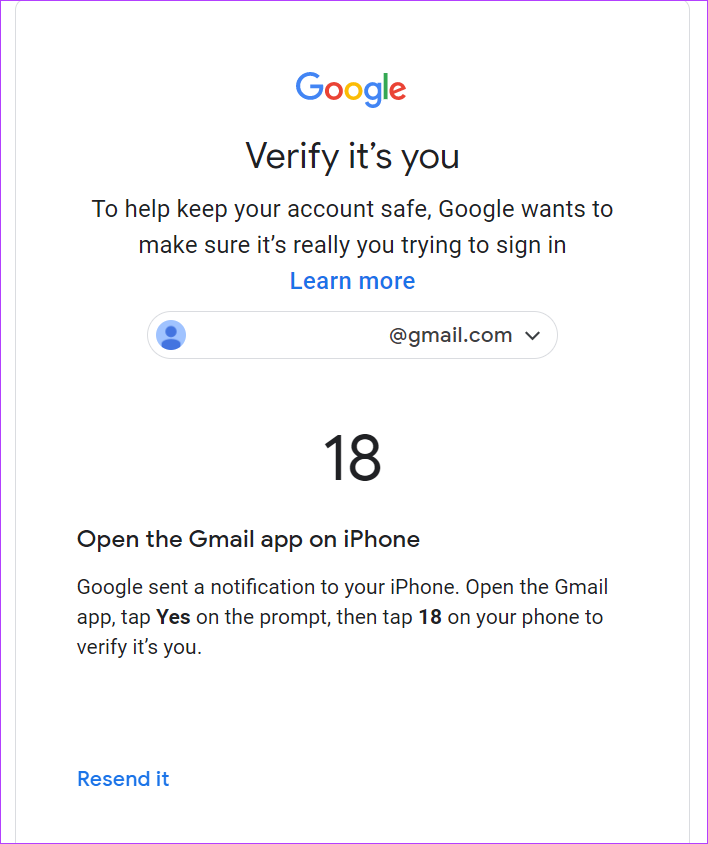
Step 6: On the new window, you should see a prompt asking you to open the Google app (Gmail, Photos, etc.) on your mobile phone and respond.
Step 7: On your mobile device, tap ‘Yes, it’s me’ in response to the prompt.
Step 8: Tap the number shown on your mobile app to match the one shown on your Google account.
Step 9: On the new Google Account window, click on Next.
Step 10: Click on Turn On to enable Google Prompts for your next sign-in.
How to Enable 2FA Using Your Phone Number
Another way to enable 2FA on your Google account requires your phone number. With your phone number on record, Google can send you a verification code via text or a phone call. Here’s how to enable 2FA using your phone number: Step 1: Visit the Google Accounts in a browser and enter your account details to sign in. Visit Google Accounts Step 4: By the left of the Google Account window, click on Security.
Step 5: Scroll down the window to ‘Signing in to Google’ and click on ‘2-Step Verification.’
Step 6: Provide your account password to verify your identity.
Step 7: If your Google Account already has prompts enabled, click on Show more options at the bottom of the page.
Step 8: Click on Text message or voice call from the options.
Step 9: Provide your phone number and choose between a Text message or Phone call for how you want Google to send you codes.
Step 10: Click on Next.
Step 11: Depending on your selection, check your phone for a text or call with the verification code sent by Google. Step 12: Input the relevant code in the verification box and click on Next.
Step 13: Click on Turn On to enable phone number verification for your next sign-in.
How to Enable 2FA Using an Authenticator App
Unlike phone numbers and prompts that require a network to receive the necessary codes, an authenticator app operates offline. The authenticator app generates one-time codes, which you can use to sign in to your Google account. However, you’ll need to set up the 2FA with your phone number to use this method. Here’s how to enable 2FA using an authenticator app: Step 1: Visit the Google Accounts in a web browser and sign in with your Google account details. Visit Google Accounts Step 2: On the left of the Google Account window, click on Security.
Step 3: Scroll down the window to ‘Signing in to Google’ and click on ‘2-Step Verification.’
Step 4: Provide your account password to verify your identity.
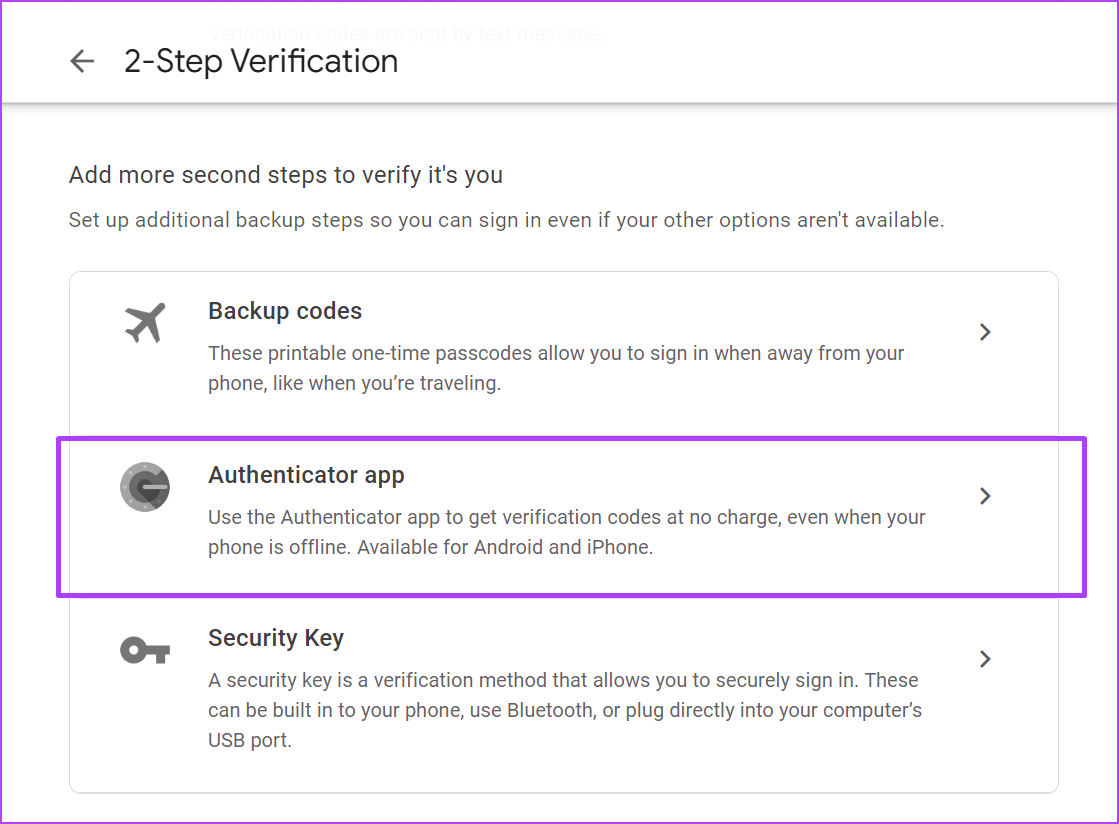
Step 5: Scroll to the bottom of the new page and click on ‘Authenticator app’.
Step 6: On your phone, download Google Authenticator. Get Google Authenticator for Android Get Google Authenticator for iPhone Step 7: Click on ‘Set-up authenticator.’
Step 8: Scan the QR code with the authenticator app downloaded.
Step 9: Click on Next.
Step 10: Input the 6-digit code shown on the authenticator app into the dialog box and click Verify.
How to Enable 2FA Using Backup Codes
Backup codes work like authenticator apps in that they are one-time codes. However, unlike the codes on an authenticator app, backup codes are exhaustible and they require internet access to be generated. Here’s how to enable 2FA using backup codes: Step 1: Open the Google Accounts page in a web browser on your computer and sign in with your Google account details. Visit Google Accounts Step 2: On the left of the Google Account window, click on Security.
Step 3: Scroll down the window to ‘Signing in to Google’ and click on ‘2-Step Verification.’
Step 4: Provide your account password to verify your identity.
Step 5: Scroll to the bottom of the new page and click on Backup codes.
Step 6: Click on Get backup codes to generate a list of 10 codes.
Step 7: Click on either Print codes or Download codes to save the codes.
Fixing Google Authenticator Not Working
If you downloaded Google Authenticator on your device as your preferred authenticator app, you might encounter a situation where it stops working. To fix it, you can try taking a backup of the app, then uninstall and reinstall the app. Hopefully, that should help you get going. The above article may contain affiliate links which help support Guiding Tech. However, it does not affect our editorial integrity. The content remains unbiased and authentic.


