This post will share the steps necessary to enable, disable, and manage app permissions on Android. The screenshots in this post are from a Samsung phone running Android 12. The steps involved remain nearly the same for all Android phones.
How to Enable or Disable Permissions for Individual Apps
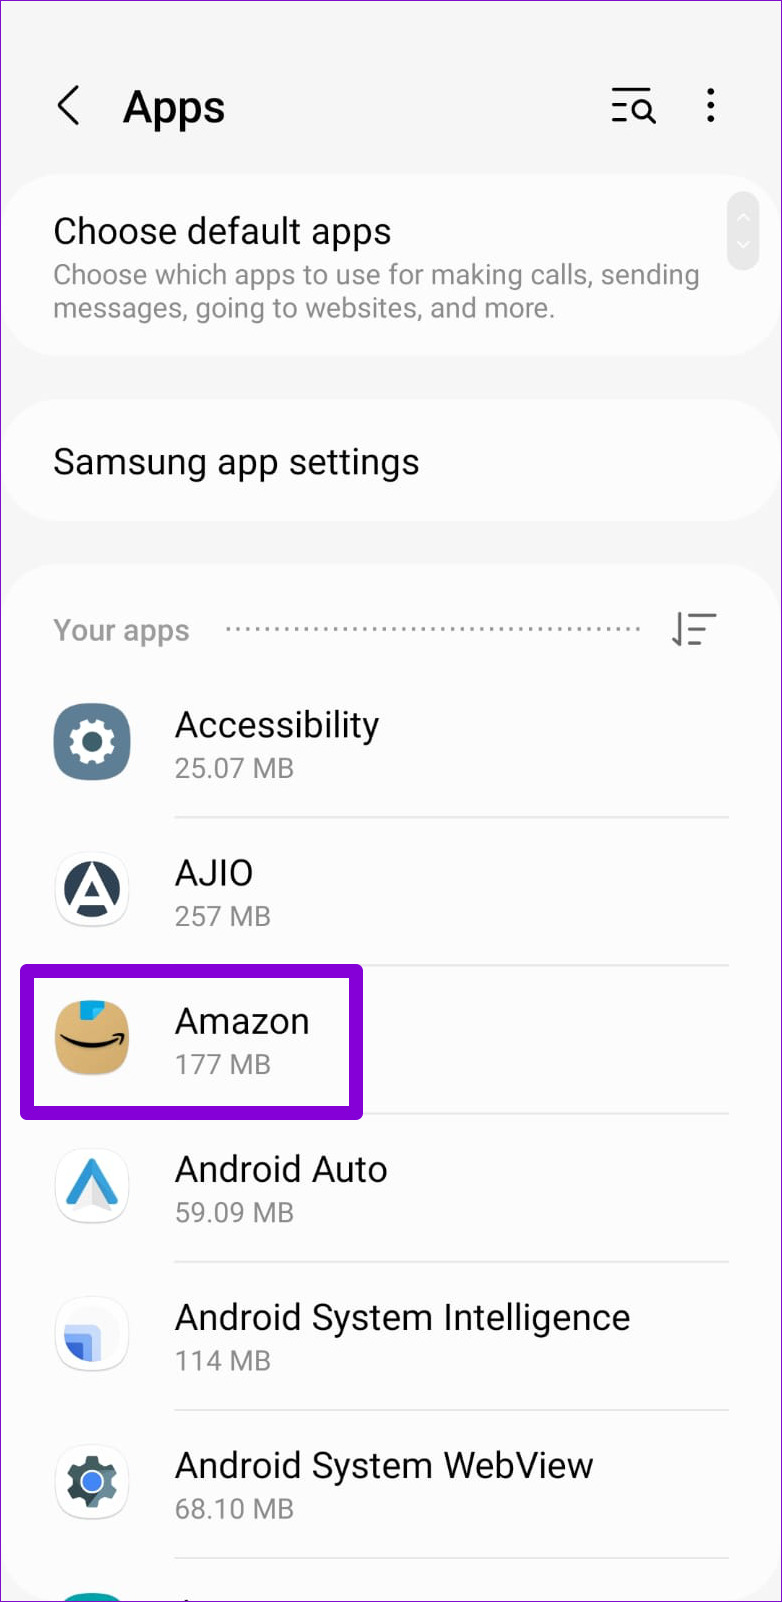
When you use any app for the first time, it asks you for relevant permissions to access things like location, camera, contacts, etc. However, if you had previously accepted all those prompts without thinking, you can always modify those permissions later on. So, if you’re looking to enable or disable permissions for a specific app, here’s what you’ll need to do. Step 1: Open the Settings app on your phone and go to Apps.
Step 2: Scroll down to find and tap the app for which you want to modify permissions. Alternatively, you can also use the search tool in the top right corner to locate an app quickly.
Step 3: On the app info page, tap on Permissions. You’ll find a list of permissions under the Allowed and Not allowed sections.
Step 4: Go through each permission and allow or disallow them as you see fit.
The options you’ll get while modifying permissions will vary based on the permission itself. You’ll find two standard options in most categories – Allow or Don’t allow. For permissions such as Camera, Microphone, and Location, you’ll see options like ‘Allow only while using the app’ and ‘Ask every time.’
You’ll need to repeat these steps for every app whose permissions you want to modify.
How to Enable or Disable Permissions for Multiple Apps at Once
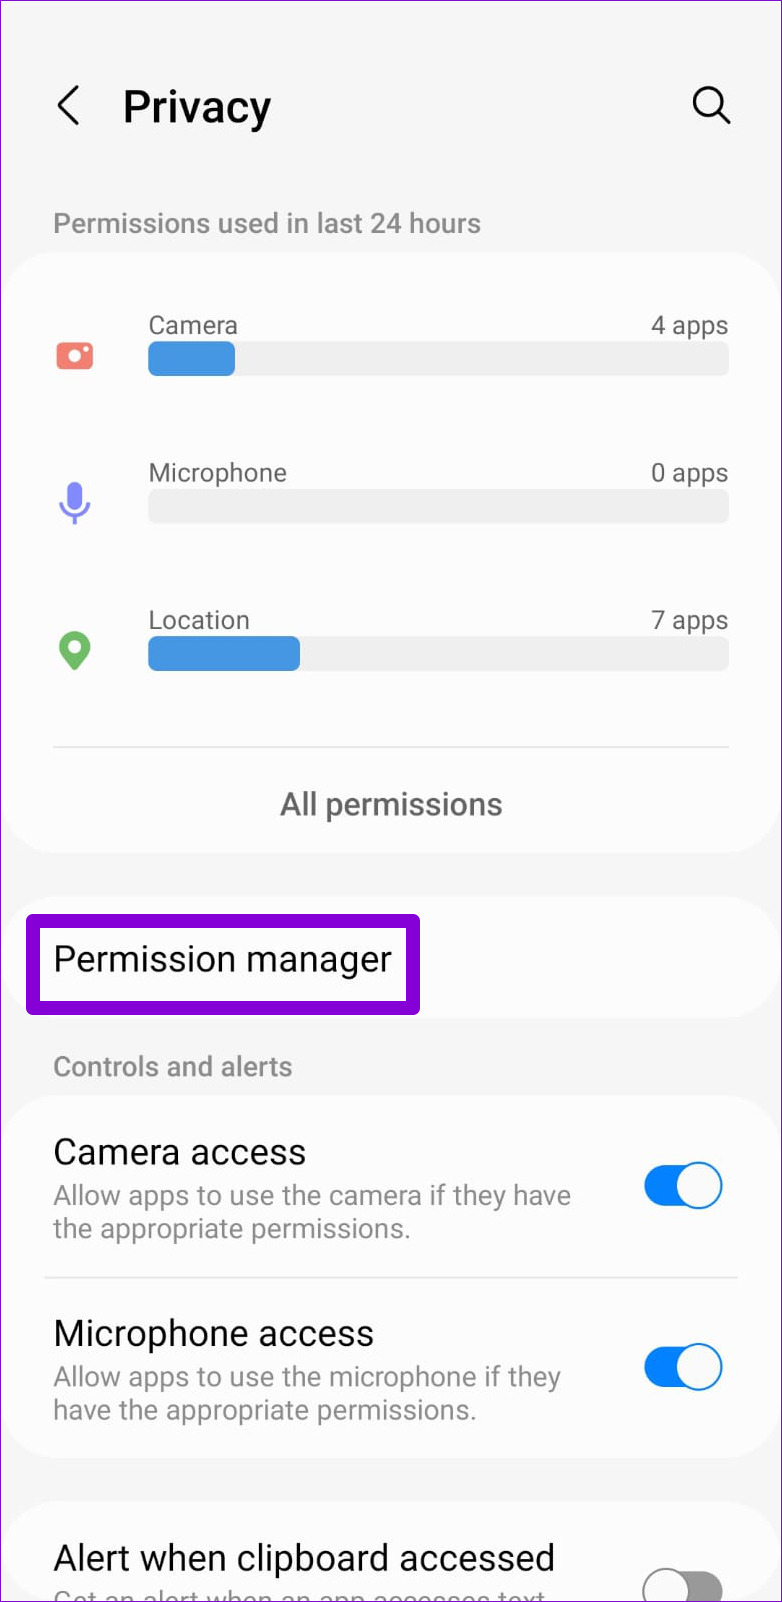
If you’re looking to manage specific permission for multiple apps at once, your Android phone also lets you enable or disable app permissions based on categories. For example, if you’re looking to manage location permissions for all your apps at once, this method will save time. You’ll have to access the Permission manager on your phone. Here’s how you can go about it. Step 1: Open the Settings app on your phone and scroll down to tap on Privacy.
Step 2: Tap on Permission manager.
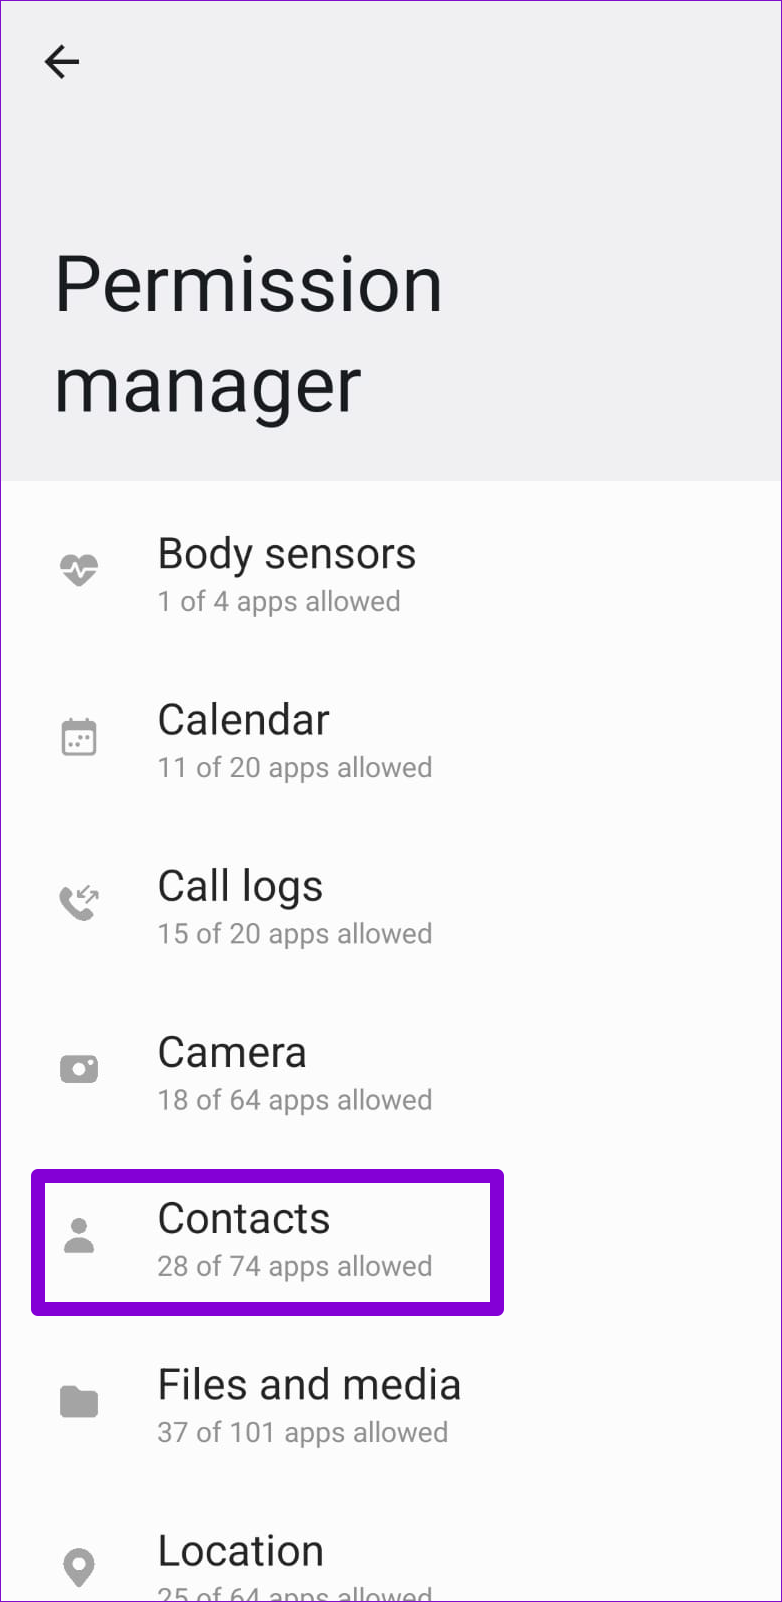
Step 3: You’ll find various app permissions such as Camera, Contacts, Microphone, etc. Tap on the permission you wish to configure. For demonstration purposes, we’ll modify permission to access Contacts.
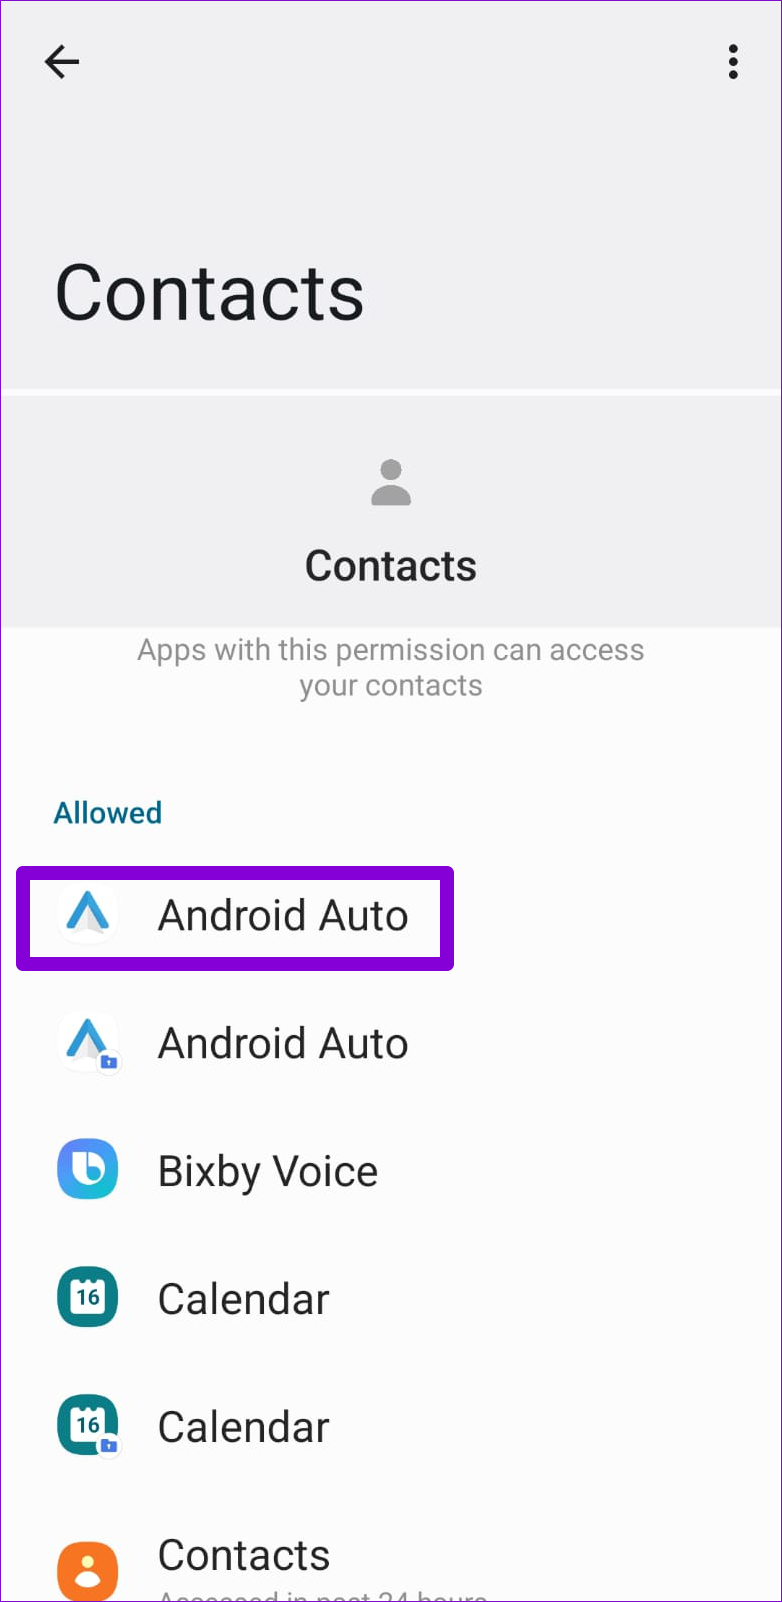
Step 4: You’ll find a list of apps categorized based on their access. Go through each app to quickly allow or disallow permission to use Contacts.
Similarly, you can repeat the above steps to manage the camera, microphone, and other permissions for multiple apps at once.
Bonus: How to Automatically Revoke Permissions for Unused Apps
As we just learned, managing app permissions on Android is relatively easy. Additionally, your Android phone also allows you to revoke app permissions for the apps that you haven’t used in a while. This can be handy if you don’t use an app often and want to prevent it from accessing sensitive information. Here’s how you can enable it. Note: This option is only available for phones running on Android 11 or above. Step 1: Open the Settings app on your phone and scroll down to tap on Apps.
Step 2: Tap on the app whose permission you’d like to revoke after prolonged inactivity. On the app info page, enable the switch next to ‘Remove permission if app is unused’.
After you enable it, the Android OS on your phone will automatically revoke the relevant app permissions if you don’t use it for a few months. Although, there’s no specific time to estimate or set that. Thankfully, Android does send a notification whenever that happens. Sadly, there is no way to apply this setting for all apps at once. So, you’ll have to repeat these steps for each app separately. We’d recommend you enable this option for the apps that you don’t use regularly or ones that you sideloaded from unknown sources.
Handle With Care
Google has certainly made it easier to manage app permissions with every Android update. An option to automatically revoke app permissions after inactivity is a good case. Although you may not need to verify these permissions very frequently, it’s nice to see how easy the process is. The above article may contain affiliate links which help support Guiding Tech. However, it does not affect our editorial integrity. The content remains unbiased and authentic.


