Sharing just numbers can become boring at times and you can switch things up with explanation to complement the data. In this post, we’ll show how to add an audio file in the Apple Numbers app. These steps are applicable for iPhone, iPad, and Mac users.
Add Audio File in Numbers App on iPhone and iPad
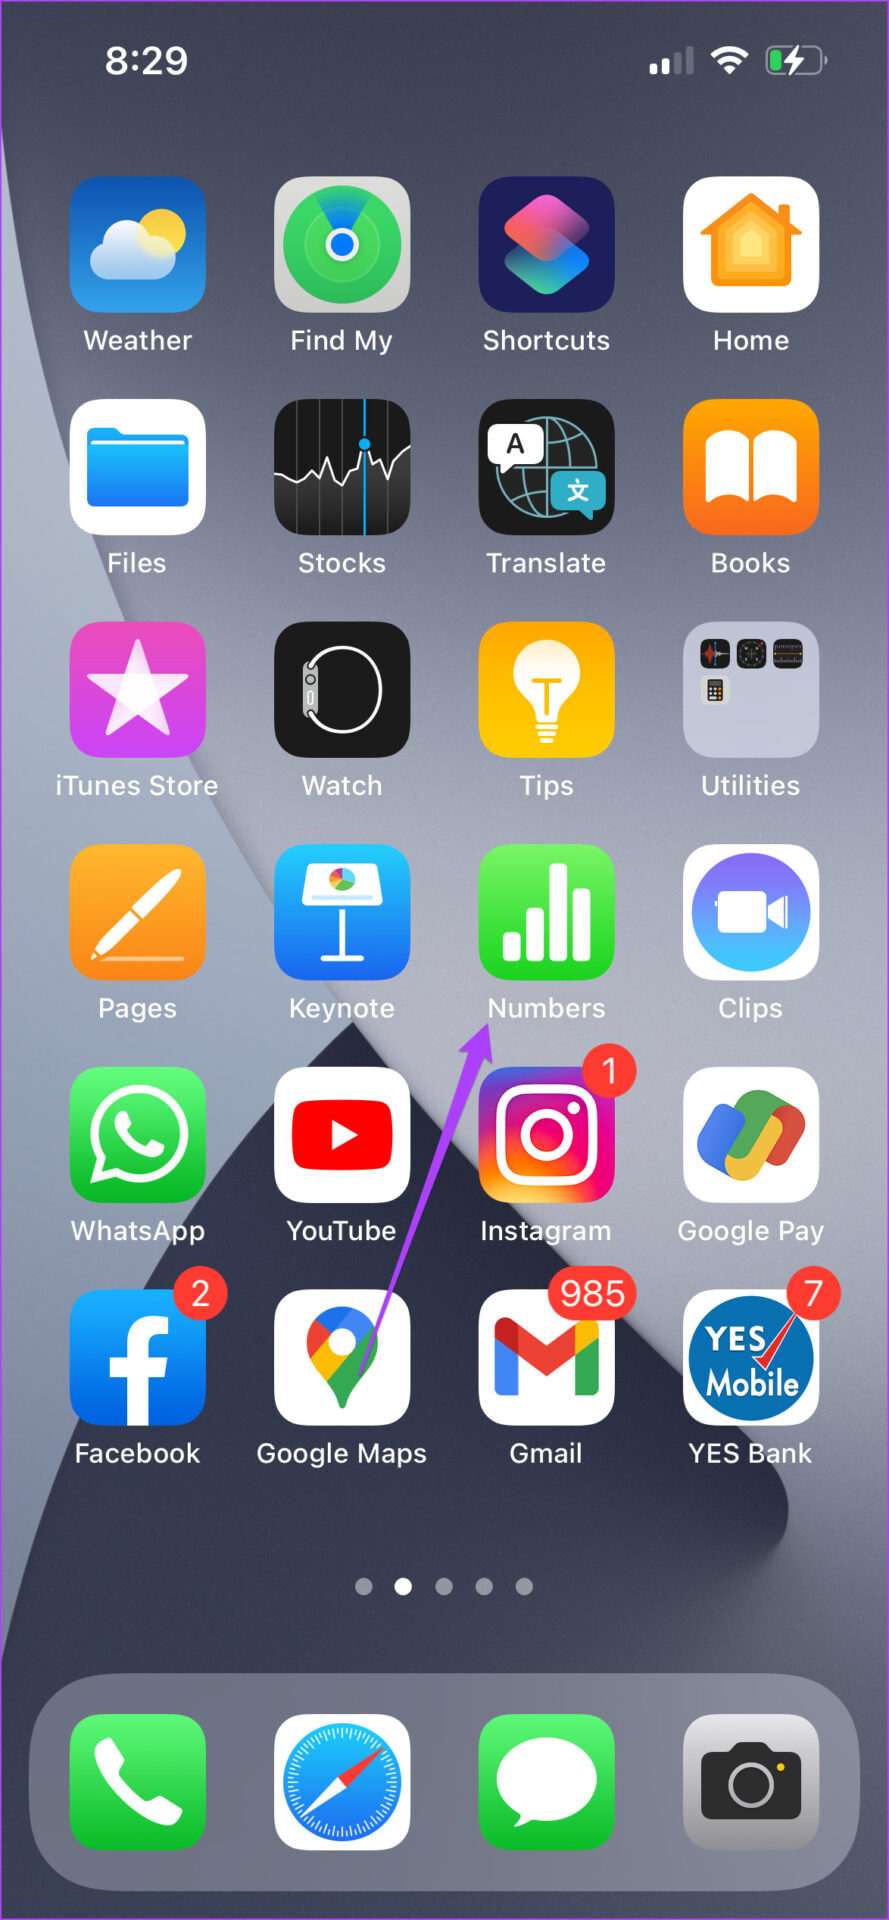
Imagine that you are out for a meeting where you will be presenting a spreadsheet. You had to download and insert an audio clip in that file. But that clip is on your iPhone or iPad. You can insert that audio clip directly from your iPhone or iPad. Follow these steps. We are using an iPhone, but these steps are also applicable to iPad users. Step 1: Open the Numbers app.
Step 2: Open your spreadsheet. Step 3: Tap on the Plus icon at the top menu bar.
Step 4: Select the Media icon on the top right corner.
Step 5: Tap on Insert from to select the file.
The Recents tab will open on your screen by default. Step 6: Tap on Browse to open the iCloud drive.
Step 7: Select your audio file, and it will get added to the spreadsheet.
This is how you can add an audio file. You can tap on the Audio icon to play your audio clip before and during your presentation. If your file is not in the iCloud drive, follow these steps. Step 1: Click on Browse at the top left corner.
Step 2: Select your folder location from the list.
Step 3: Select the file to add to your spreadsheet.
Bonus Tip: Record and Add an Audio File
You can also record audio on your iPhone and iPad to insert it directly into your spreadsheet. This will also help if you want to add another audio clip to the file. Here’s how. Step 1: Open your Spreadsheet file in the Numbers app.
Step 2: Tap on the Plus sign and select the Media tab.
Step 3: Tap on Record Audio.
Step 4: Tap on the Record icon to start recording.
Step 5: Allow Numbers to access the microphone.
Step 6: Tap the Stop icon to finish the recording.
You can either Preview your recording or Edit it before including the sheet.
Step 7: Tap on Insert at the top right corner to add the clip.
Add Audio File in Numbers App on Mac
If your audio files are stored only on your Mac, you can add them easily in the Numbers app on your Mac. If you are into teaching a subject like financial planning, this feature can help you further explain a particular metric. Follow these steps. Step 1: Open the Numbers app on your Mac.
Step 2: Open your spreadsheet or create a new document. Step 3: Click the Media icon on the top menu bar.
Step 4: Select Choose from the dropdown menu.
Step 5: Select your audio file and click Insert.
You have successfully inserted the audio clip into your spreadsheet. You can edit that clip by selecting the Edit Audio option from the right menu. Like iPhone and iPad, you can record a fresh audio clip and add it from your Mac. If you have studio-quality mics, you can connect them with your Mac and record top-quality audio for your presentation. Here’s how. Step 1: After opening the file or creating a new document, click again on the Media icon.
Step 2: Click on Record Audio.
Step 3: Click on the record button to start recording the audio.
Step 4: Click again to pause your recording.
Here also you get the options to Edit and Preview your clip.
Step 5: Once you have done that, click Insert to add your recorded clip.
Add Audio in Apple Numbers
This feature of the Apple Numbers app can create a bigger impact on your presentations. You can add a lot more information and the metrics to put your point across better. You don’t have to rely on other spreadsheet apps to access this feature. Apple has certainly put a lot of focus on fulfilling the needs of its users. This feature of adding audio clips is available for free for all users. The above article may contain affiliate links which help support Guiding Tech. However, it does not affect our editorial integrity. The content remains unbiased and authentic.


