Read through our guide below carefully ensuring you don’t miss any steps, and you can build your own FTP server for free.
Why Might You Want to Set Up an FTP Server?
You may be wondering how an FTP server can benefit you vs using file-sharing services like Dropbox, SkyDrive, etc. While these latter services are good for storing files online and sharing them with friends that have access to good download speeds, you don’t have the restricting controls they put in place. While this is a positive look at using an FTP server, there are always going to be downfalls. Pros:
It’s cheaper to buy hard drive space and install your own server than to use an online storage service.You have total control of how your files are transferred when using your own service. For example, you can’t designate users in Dropbox and easily monitor who has downloaded a file like you can with your own FTP program.You can ban certain IP addresses from accessing your files (or only explicitly let a few IP addresses have access). Online services don’t allow this sort of restriction.
Cons:
Your disk space is limited by physical hard drive capacity, whereas online services let you buy additional virtual space.The computer (FTP server) needs to be running all the time for you to access it.If using an FTP server as a backup solution, it’s not as safe as a high-grade online backup service where most use redundancy to keep data alive.There are less security measures (different authentication methods) in place for securing passwords when using FTP vs HTTP transfers
Here’s how to go about setting it up.
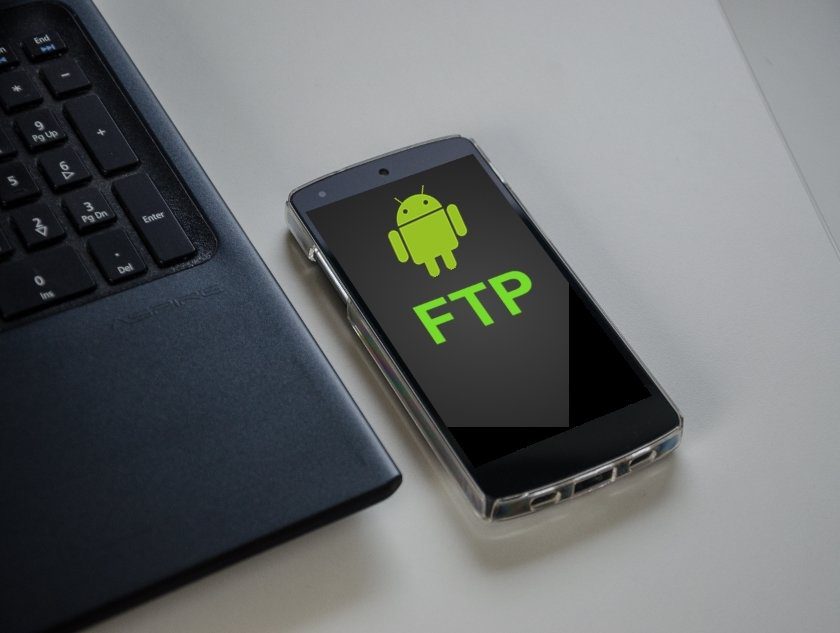
How to Set Up an FTP Server
We’ll be using the free FTP server program called Quick ‘n Easy FTP Server Lite. This program allows separate user accounts so different permissions and passwords can be set accordingly. After setting up this program we’ll configure the router to allow data to pass through to the appropriate FTP server. Here are a few other free FTP server programs you may prefer:
FileZillaXlight FTP ServerSYSAX Multi Server
Set Up Quick ‘n Easy FTP Server
Step 1. Download the program here and then open the files using a free compression program. You’ll want to launch the file called FTPServer.exe. Step 2. Set up an initial account. Enter any name here, like Admin or your own name. You’ll need to remember this to log in again in the future. Press Next and now choose a password. Ensure this is something you can easily remember yet isn’t too simple to guess. If you’re going to have sensitive files on your server, the last thing you want is to have it broken in to. Click Next to choose a Home Directory for this account. This is where the data will be allowed to be downloaded from or uploaded to. If you plan to use a lot of data, choose a folder on a drive with plenty of available space. The next page is for file permissions. Since this first account is the admin account, we’ll allow the account all the permissions, so place a check next to each entry. Press Next to finish the account creation. Step 3. Now that one account is set up, we can configure access to the server machine. Click Launch FTP Setup Wizard to start the wizard required to set how the file server is accessed. Click Next on the initial window to enter the FTP Port settings. We’re going to keep the default value of 21. The next step asks about how you’re connected to the internet. We’re working behind a router, so we’ll select the second option. If you don’t have a router in place, simply keep the default option selected. If you’ve selected the second option as we did, jot down the number 21 to remember for when we’re in the router settings. Click Next in the FTP program and notice the additional ports we have to forward to the local IP address. These need to be entered in the router too, so write these down as well.
Set Up Your Router
Step 1. Open your router settings page. Ours is http://192.168.1.2. Step 2. Enter the port we found in the previous step, so 21, and then the resulting IP should be the computer hosting the FTP program. This particular port needs to be entered in a set of settings akin to Single Port Forwarding or a term similar. Be sure to save the settings after editing. Cool Tip: Find your local IP address by going to a command prompt and entering ipconfig and finding the IPv4 Address. Step 3. Now that the single port has been forwarded, we need to set up the other numbers you wrote down but this time in a section called Port Range Forwarding. We have to use a different section because we’re working with a range (the second numbers you wrote down) and not a single port. Save the settings. You can now exit the router configurations page, as we’re done with the forwarding rules.
Using Quick ‘n Easy FTP Server
Now that we have an admin account set up and the proper configurations in place for using the server from a remote location, the only other thing to do is to have an access point that you can share with people for using your server and to set up proper accounts for said people.
Make Additional Users
Make users just like we made an Admin account. Step 1. On the Home page, click Manage User Accounts. Step 2. Select Add New User from the left sidebar. Step 3. Fill out the user information. Enter a username in the first prompt like so: Then select the user and enter a Password and Path for the account. Also include the proper Permissions. Most of the time, just enabling a user to download files is recommended. Unless this user needs to upload, it’s best practice to allow just the download permission.
Set Up Access From Outside the Local Network
To summarize, we’ve set up the proper configurations for both the router and FTP program, as well as added an additional user. Now that we have everything set up we need to have a way to access the FTP server from a remote location. The easiest method is to find the external IP address. Look at our post here on one method of this, using WhatsMyIP.us.
- Open WhatsMyIp.us and notice your external IP.
- Share this address with someone who needs access to your server and they’ll be prompted for a password, which they can use to login.
Conclusion
It is important to note that each of the above steps are necessary to get the FTP server up and running. We’ve tried our best to make them exhaustive. After you’ve properly set up the router (if you have one) and the FTP program, you’re on your way to sharing all your files with whoever you like. The above article may contain affiliate links which help support Guiding Tech. However, it does not affect our editorial integrity. The content remains unbiased and authentic.


![]()