But some users might face an issue where the SD Card stops showing up on their Mac. This post will provide a list of solutions to fix SD cards not showing up on Mac.
1. Check if the SD Card Is Locked
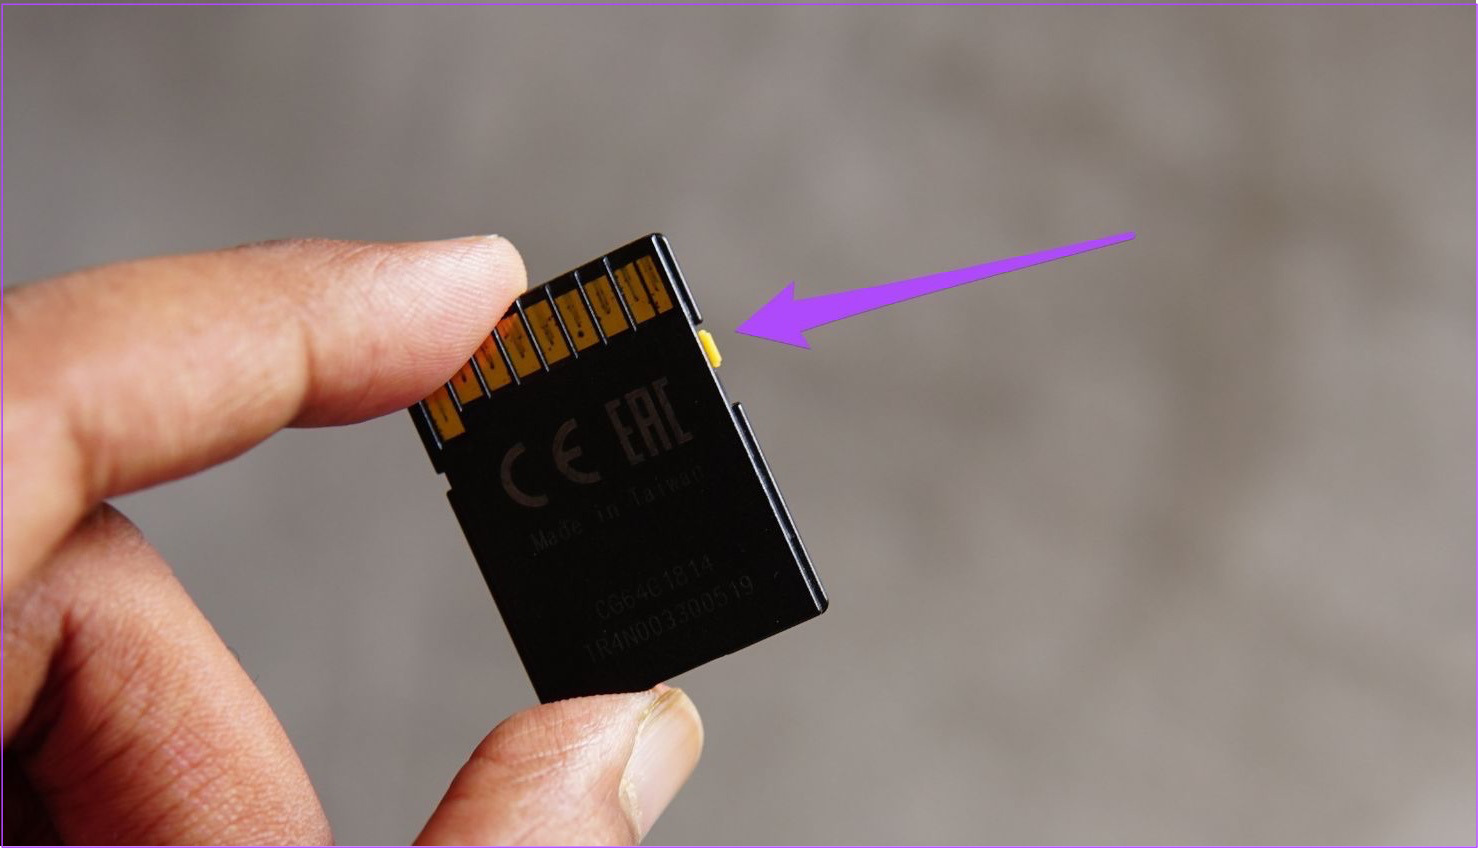
Every SD card comes with a small sliding switch on the side which can be used to lock the SD card. This will prevent the modification or deletion of data on the SD card. While you can access the data despite having the switch set to lock position, we suggest unlocking it once to check if it shows up on your Mac.
2. Check the SD Card Reader Port
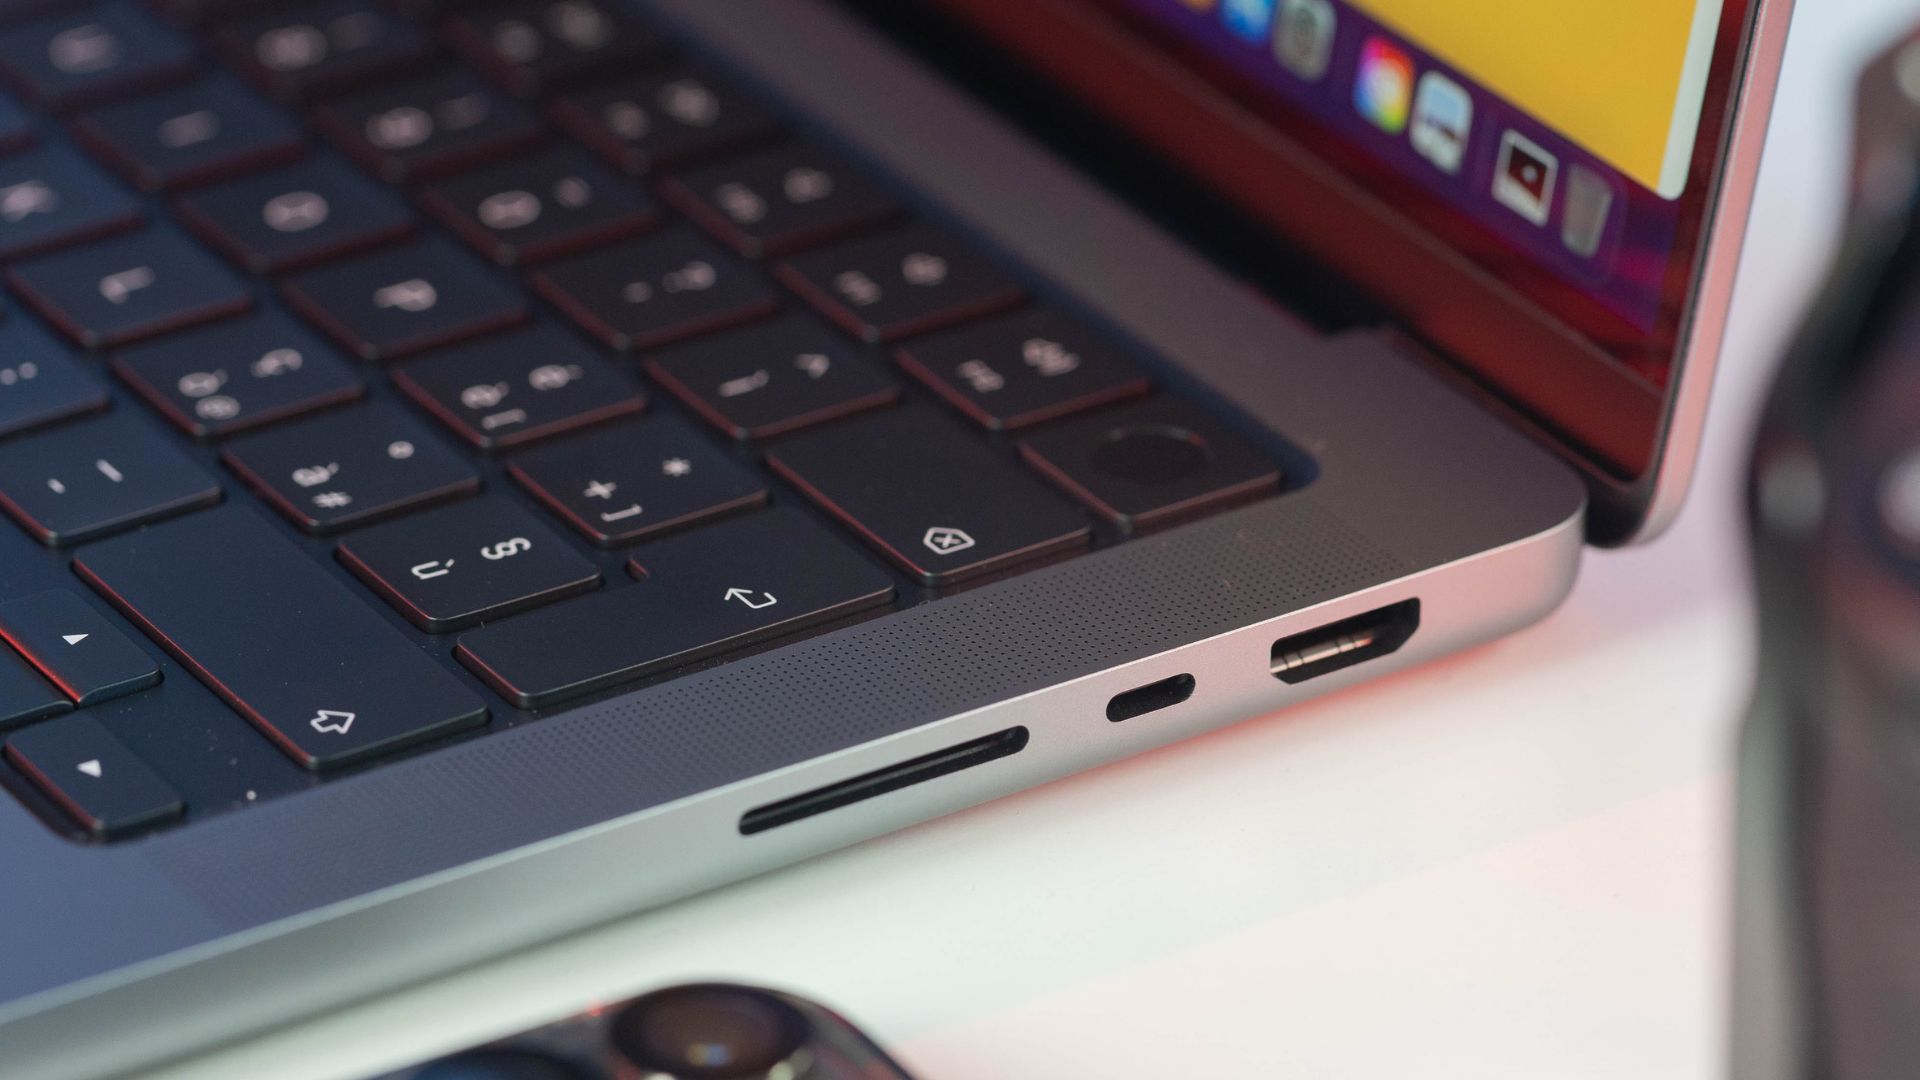
If unlocking the SD card is not helping, you can try cleaning the SD card port on your Mac. If you use an SD card reader, we suggest you clean that and try reconnecting it with your Mac. You can use a cotton bud or a small dental floss brush to remove dirt from the SD card port.
3. Restart Your Mac
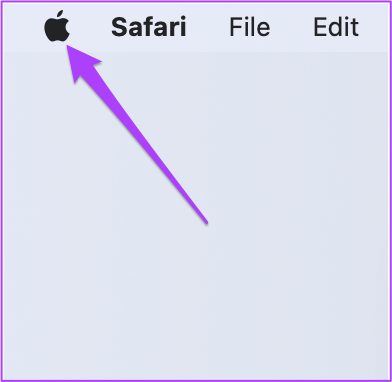
Another basic solution that we would suggest is restarting your Mac. This will give a fresh start to macOS and all the applications in your Mac. Follow these steps. Step 1: Click the Apple logo.
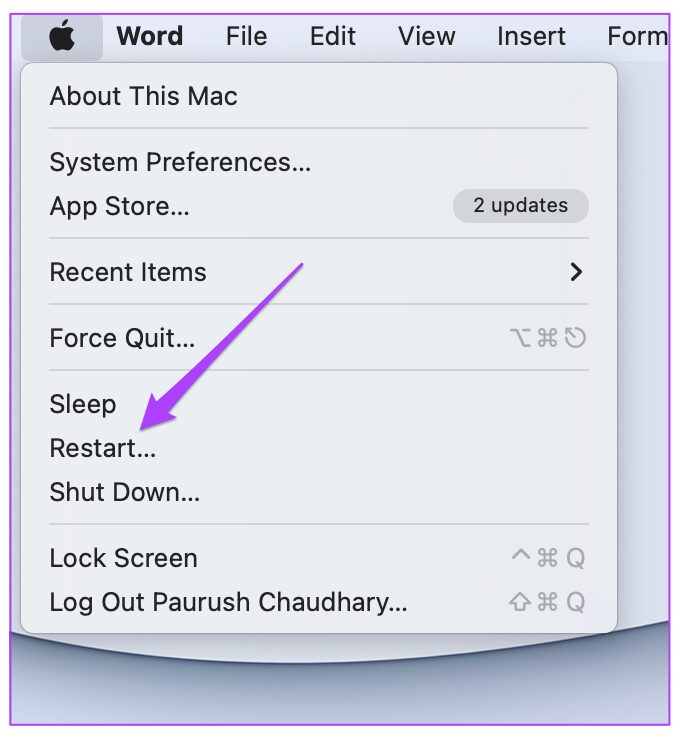
Step 2: Click on Restart from the list of options.
Step 3: After your Mac restarts, insert your SD card and see if it is showing up.
4. Check Your Finder Sidebar Preferences
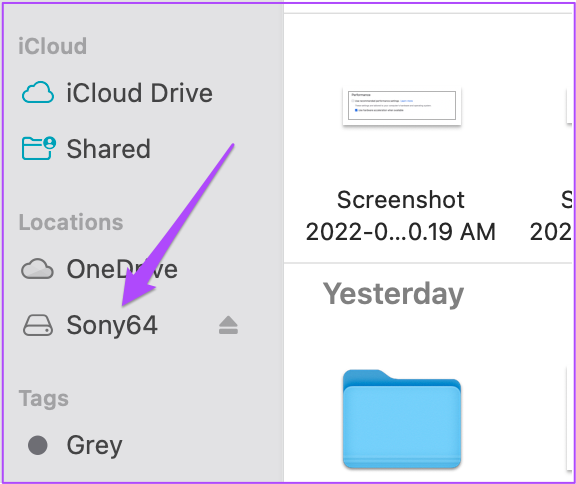
Whenever you connect an external storage device like an SD card with your Mac, it appears in the Finder’s sidebar and on your desktop. If your SD card is not showing up, you should check for Finder sidebar preferences on your Mac. Follow these steps to display your SD card in Finder’s sidebar. Step 1: Press Command + Spacebar to reveal Spotlight Search, type Finder, and press Return.
Step 2: Click the Finder tab in the top-left corner.
Step 3: Select Preferences from the list of options.
Step 4: In the Finder Preferences window, click on Sidebar.
Step 5: Check if all the items under Location are enabled.
Follow these steps to display your SD card on Desktop. Step 1: Click on Finder.
Step 2: Click Finder tab in the top-left corner and select Preferences.
Step 3: Under General tab, make sure that all the items are selected.
Step 4: Connect your SD card and see if it is showing up.
5. Check for SD Card Listing in Disk Utility
If your SD card is not showing up in Finder or Desktop, you should check whether it is getting listed in Disk Utility or not. Connect the SD card with your Mac and follow these steps. Step 1: Press Command + Spacebar to open Spotlight Search, type Disk Utility, and press Return.
Step 2: Check for the SD card listing on the left side of the Disk Utility window.
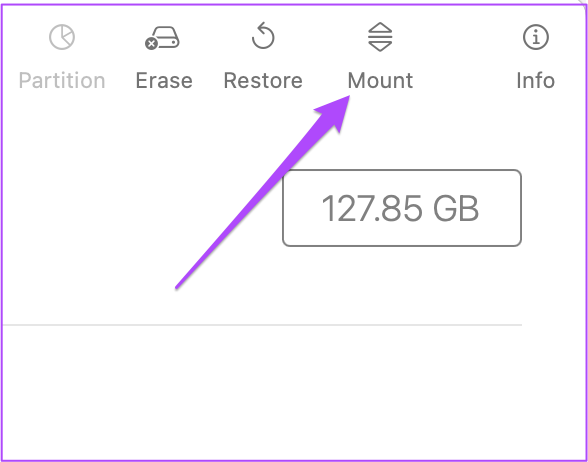
If the SD card name appears in a grey color, it is not mounted on your Mac. To fix this, simply click on Mount option in the top-right corner.
Your SD card should now be visible in Finder or Desktop.
6. Repair SD Card Using First Aid
If your Mac still cannot read the SD card even after mounting it, you should repair it using the First Aid option in Disk Utility. First Aid will recognize and fix all the storage-related errors on your SD card. But this process might cause some data loss. So we recommend you first recover your data from the SD card. Then to run First Aid, follow these steps. Step 1: Open Disk Utility again on your Mac.
Step 2: Click on First Aid.
Step 3: Click Run to confirm your action.
Once the First Aid process is complete, check if your SD card is now showing up in Finder or Desktop.
7. Check for SD Card Reader Listing in System Report
If the SD card is still not showing up, you should check whether your Mac’s SD card port is functioning properly. You can check the same by going to System Report on your Mac. Follow these steps. Step 1: Click the Apple icon in the top-left corner.
Step 2: Click on About This Mac.
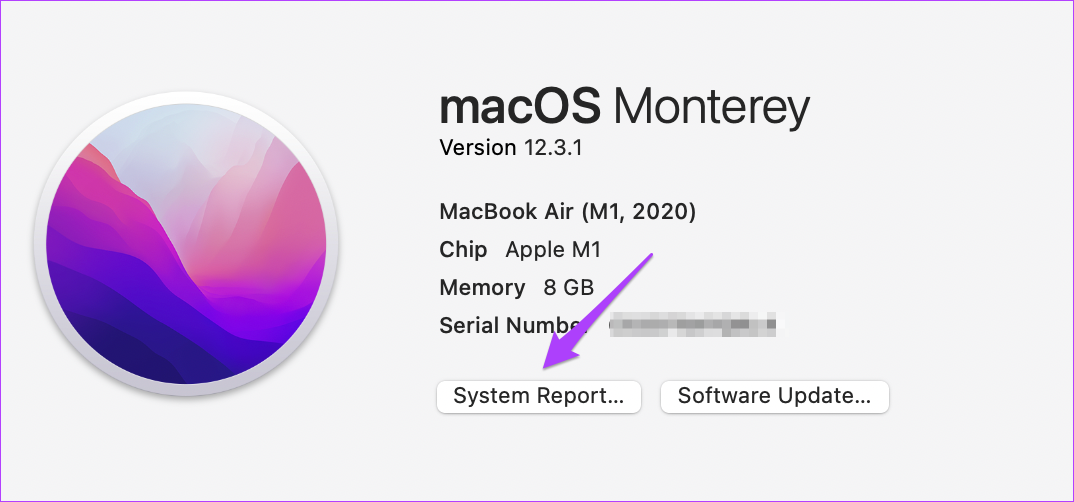
Step 3: Select System Report.
Step 4: In the left menu, look for Card Reader.
Step 5: Select the option and check if you can see the details like Vendor ID and Device ID. You won’t see any such information if your Mac doesn’t have a built-in card reader. If you cannot see anything after selecting the option, follow the solutions mentioned below.
8. Reset NVRAM (For Intel Macs Only)
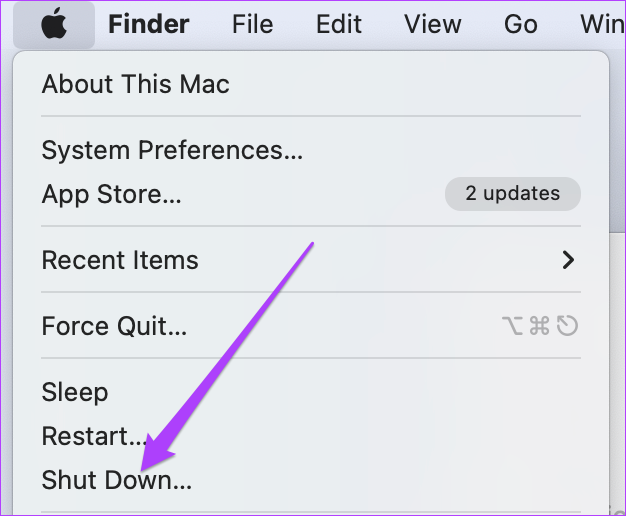
If your Mac runs an Intel processor, you should perform an NVRAM reset. NVRAM (Non-Volatile Random Access Memory holds information like sound volume settings, startup disk selection, time zone, and more. You can try this solution to fix the problem of the SD card not showing up on Mac. Please note that after performing the NVRAM reset, you would have to adjust these settings again on Mac. Follow these steps. Step 1: Click the Apple logo and select Shut Down.
Step 2: Boot your Mac again. Step 3: While your Mac is turning on, press Option + Command + P + R for 20 seconds.
Step 4: Release all four keys when the Apple logo appears for the second time – indicates that NVRAM reset is complete. After that, your Mac will restart. Step 5: Insert your SD card again to check if it is showing up or not.
9. Restart USB Daemon From Terminal
USB Daemon is a background process that involves mounting the external storage devices with your Mac, configuration management, and transferring data seamlessly. If this process stops working properly, your Mac won’t be able to read or recognize any external storage device, including your SD card. You can restart USB Daemon using Terminal on your Mac. Follow these steps. Step 1: Press Command + Spacebar to launch Spotlight Search, type Terminal, and press Return.
Step 2: Once Terminal opens on your screen, type the following command:
Step 3: Press Return. Step 4: After the process is complete, close Terminal and insert your SD card to see if your Mac reads or not.
10. Visit Your Nearest Apple Store
If none of the steps mentioned above have worked for you, we recommend you visit your nearest Apple Store. There might be some issue with the SD card port. If you are using an SD card reader for your Mac that supports USB-C, we suggest you get a new one.
Use SD Card for Your Mac
We hope this list of solutions will help you fix the problem and use your SD card to transfer files from your Mac. If you are not looking for a USB-C Hub, you can use a USB-C SD Card Reader for your Mac. The above article may contain affiliate links which help support Guiding Tech. However, it does not affect our editorial integrity. The content remains unbiased and authentic.

